3dsmax - annoyances no. 1

I'm not usually one of those people who resists change in computer software, but I do when 'new' is both less intuitive and also slower. So this post is really just a reminder to myself of what to do to revert the 3dsmax select dialog to the old style one, and the material/map browser (within the material editor) as well. Enjoy!

C: > Users > *username* > AppData > Local > Autodesk > 3dsMax(Design) > 2013 - 64bit > ENU > en-US > defaults > MAX.vray > Currentdefaults.ini

[Scene Explorer] SelectByNameUsesSceneExplorer=0

(If you aren't using vray then the path will be slightly different)

C: > Users > *username* > AppData > Local > Autodesk > 3dsMax(Design) > 2013 - 64bit > ENU > plugcfg_ln > SME.ini

UseOldMtlBrowser=1

EDIT:

And another thing while I'm at it. I prefer having the file menu visible rather than just as an icon, luckily this is very easy to do, just customize your UI, click the menus tab and drag the file menu back where it should be like this:

Thanks to Pixela I think it was who originally helped me with this!

rendering OOF* highlights

clamp-comparison2

clamp-comparison2

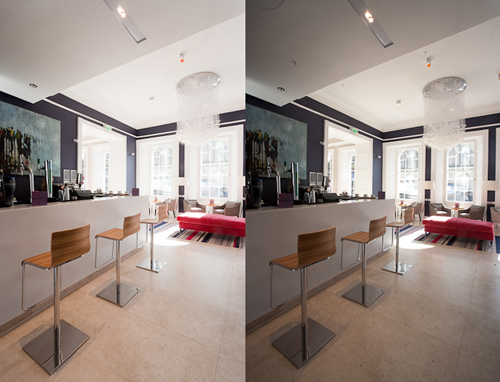
Just a quick comparison between rendering the quick way (A) and the sloooooooooow way (B). Guess which method I always use?

A: In vray's color mapping section, Sub-pixel mapping is ticked, as is Clamp output (set to a value of 1.0).

B: Both Sub-pixel mapping and Clamp output unticked.

Even if you aren't trying to get this particular lens effect, I still recommend rendering unclamped for trees (and many other situations), it just looks so much more realistic. When I get a chance, I'll render the same scene without DOF to show you the difference.

EDIT:

clamp-comparison31

clamp-comparison31

C: clamped, and sub-pixel mapping ON D: unclamped, sub-pixel mapping OFF

Even without DOF, I think it trees still look much more realistic when rendered unclamped.

* out of focus

Hardware FAQ

I get so many questions about what hardware I use that I decided to write a short blog entry that I can direct people to rather than giving them Steve Jobs style minimal answers.

I use a Mac Pro as my main machine, and currently have 2 intel i7-980x based render slaves. The Mac Pro is about 5 years old and boots directly into windows, in fact I can't even boot into osx anymore as I stuck a non osx verified graphics card in it. Bootcamp works perfectly with windows. Essentially all bootcamp is anyway is a set of drivers for the graphics card, audio, bluetooth, wifi, lan etc.

After 5 years of working for myself I have come to the conclusion that what is most valuable to me in my main workstation is reliability. My ageing Mac Pro has been incredible in this regard and if I replace it I'll probably go for a similar type of machine. So even though it might be better value for money to get a couple of i7 machines and overclock them, I would prefer to go the non-overclocked xeon route, with lots of ECC ram. Having your own mini render farm is great, but often for quick test renders what you really want is a very powerful main machine. Thats my preference anyway.

If you are on a budget then of course a single processor machine will be a better bet, especially as you can stuff them full of ram these days. I'm not very up to date on what the latest and greatest is in cpu technology and even less so when it comes to graphics cards. The best I can do is send you over to 3datstech.com as Andy Lynn's amazon lists are pretty handy and fairly up to date.

HDRi lighting & glossy reflections

If you are using vray and sometimes find that when using a vray dome light as a light source you get pixelated reflections of the sky, try this:

Select your light and type the following in the MaxScript listener:

$.dome_visibleOriginal=2

That comes from Vlado on the chaosgroup forum, he goes on to explain:

It just controls when the dome texture will be evaluated fully and when the values will be taken from the pre-sampled version specified by the "resolution" parameter. The presampled version is calculated faster, but is jagged. A value of 0 means that the pre-sampled version is used always; a value of 1 means that the presampled version is used for GI and glossy rays, and a value of 2 means that the presampled version is used only for GI rays. 2 should probably be the default, now that we have it.

I have never really noticed it, because the places it might show up (architectural glazing for example) I usually dont use glossy reflections. When I say glossy reflections, I mean any vray material with a glossy reflection value of less than 1.

Here is an example of the problem:

glossy.jpg

and fixed with the secret maxscript code:

glossy_with_fix.jpg

Hope that's useful to someone!


Perspective correction techniques

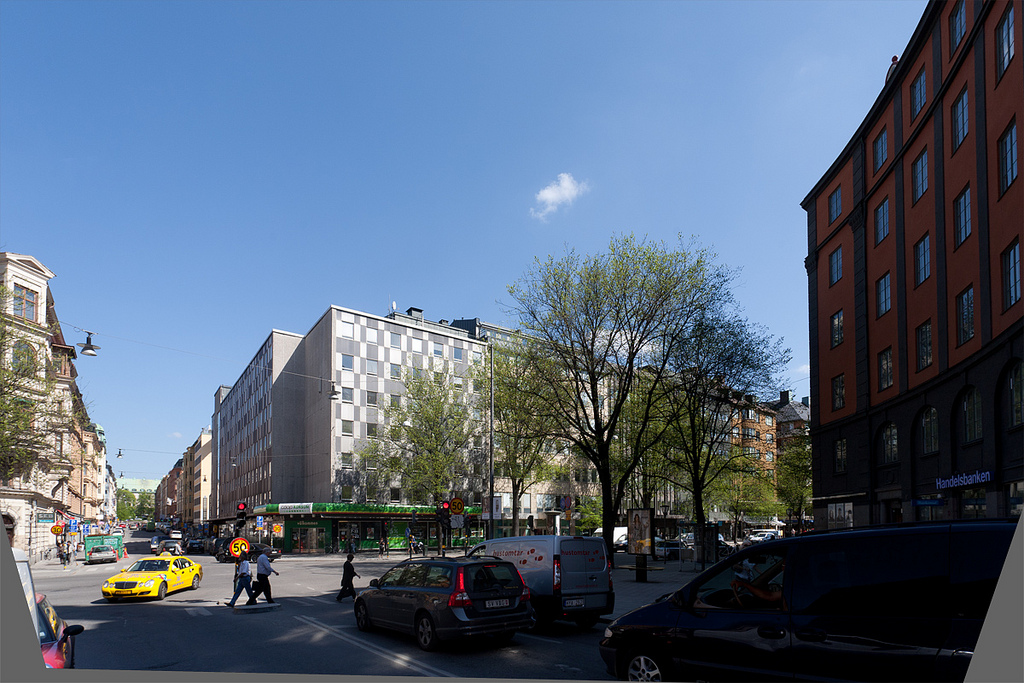
I've been neglecting my blog lately due to having too much work to do, so to try and get back into the swing of things I though I might as well put this up here (even although its not a tutorial). I like to do as much as possible in Lightroom when it comes to processing photos, its so handy to keep everything raw and then even when I do need to make a jpg for uploading to the internet I tend to bin them afterwards. One thing that annoys me though is how LR does perspective correction. In my opinion PTlens (a cheap plugin for photoshop) does it well, in that it looks believable, whereas LR's output always looks a bit squashed.

The two programs clearly use different algorithms, but which is more 'correct'?

Lightroom:

PTLens:

and a comparison between the two showing how much taller buildings appear in PTLens:

I don't have aperture but would be interested in knowing how it handles it. Also, if there is a way of stretching an image in LR please let me know! Otherwise, I must say I am very pleased with the lens correction presets in LR (for barrel distortion correction).

My workflow just now is to camera match with the uncorrected version in 3dsmax and then do PC control afterwards in photoshop. How do you camera match a TS Lens in 3dsmax, is it even possible? (with a degree of accuracy)

architectural photography

process

New recently completed project in the photography gallery for Ian Springford Architects.

Typical processing workflow is something like:

- compare all bracketed exposures in Adobe Lightroom, flag the most likely ones, eventually end up with the best one - adjust exposure, white balance - remove chromatic aberration, vignetting - remove sensor dust spots with spotting tool - export tiff to ptlens, correct any distortion & perspective - back to Lightroom, final crop

Thankfully Lightroom takes most of the pain out of doing this to 250 odd shots, I just wish it was possible to do distortion correction on a dng without converting to a tiff.

Canova Museum Take 3

1200camB

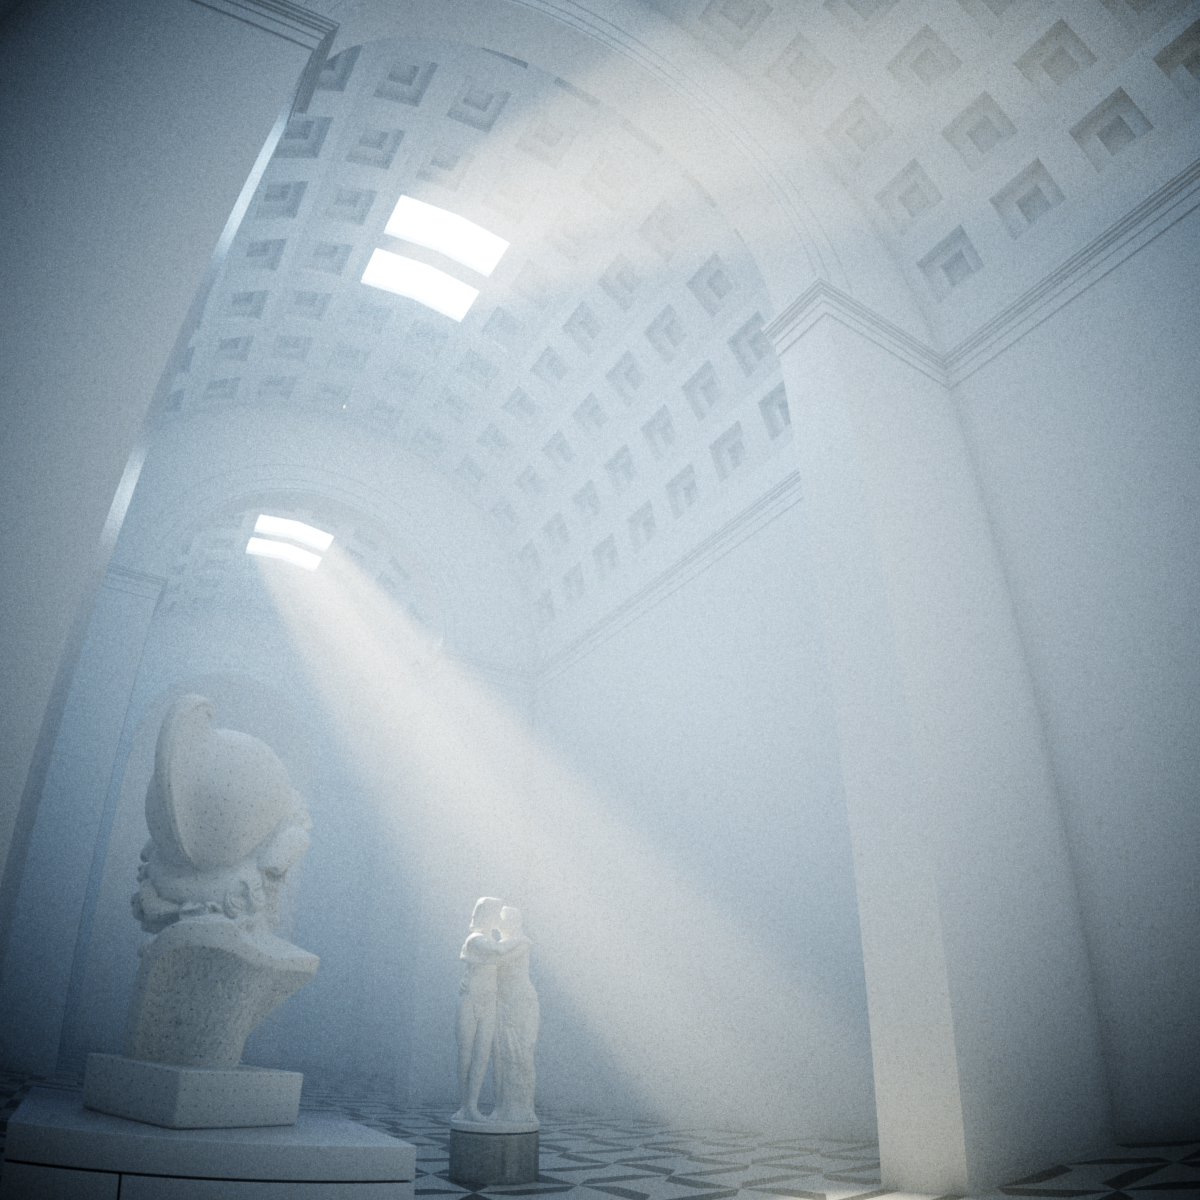
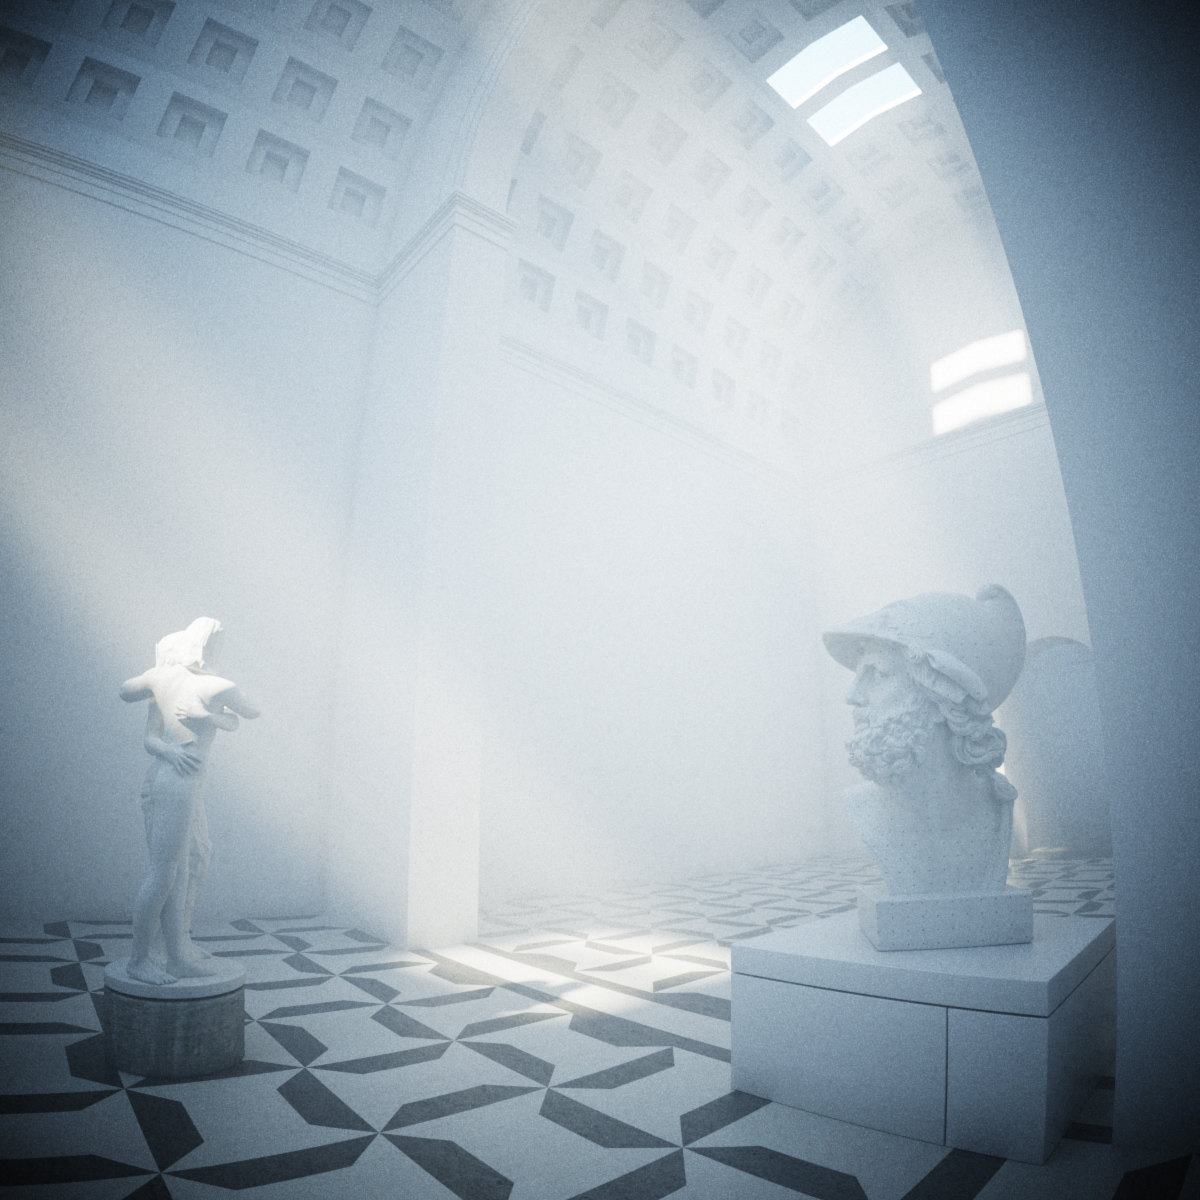
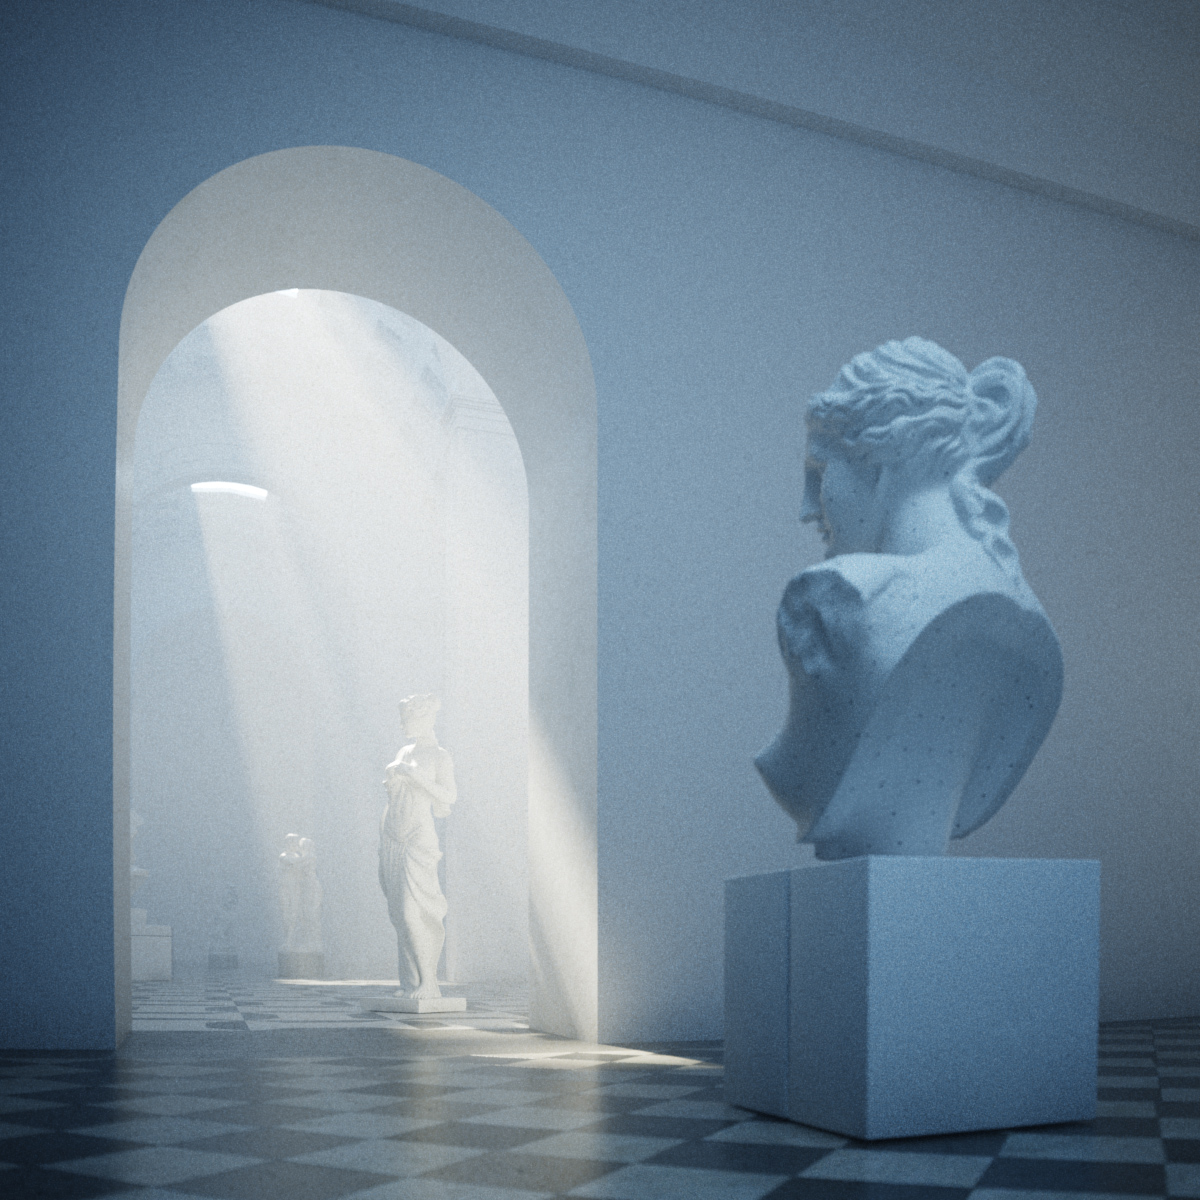
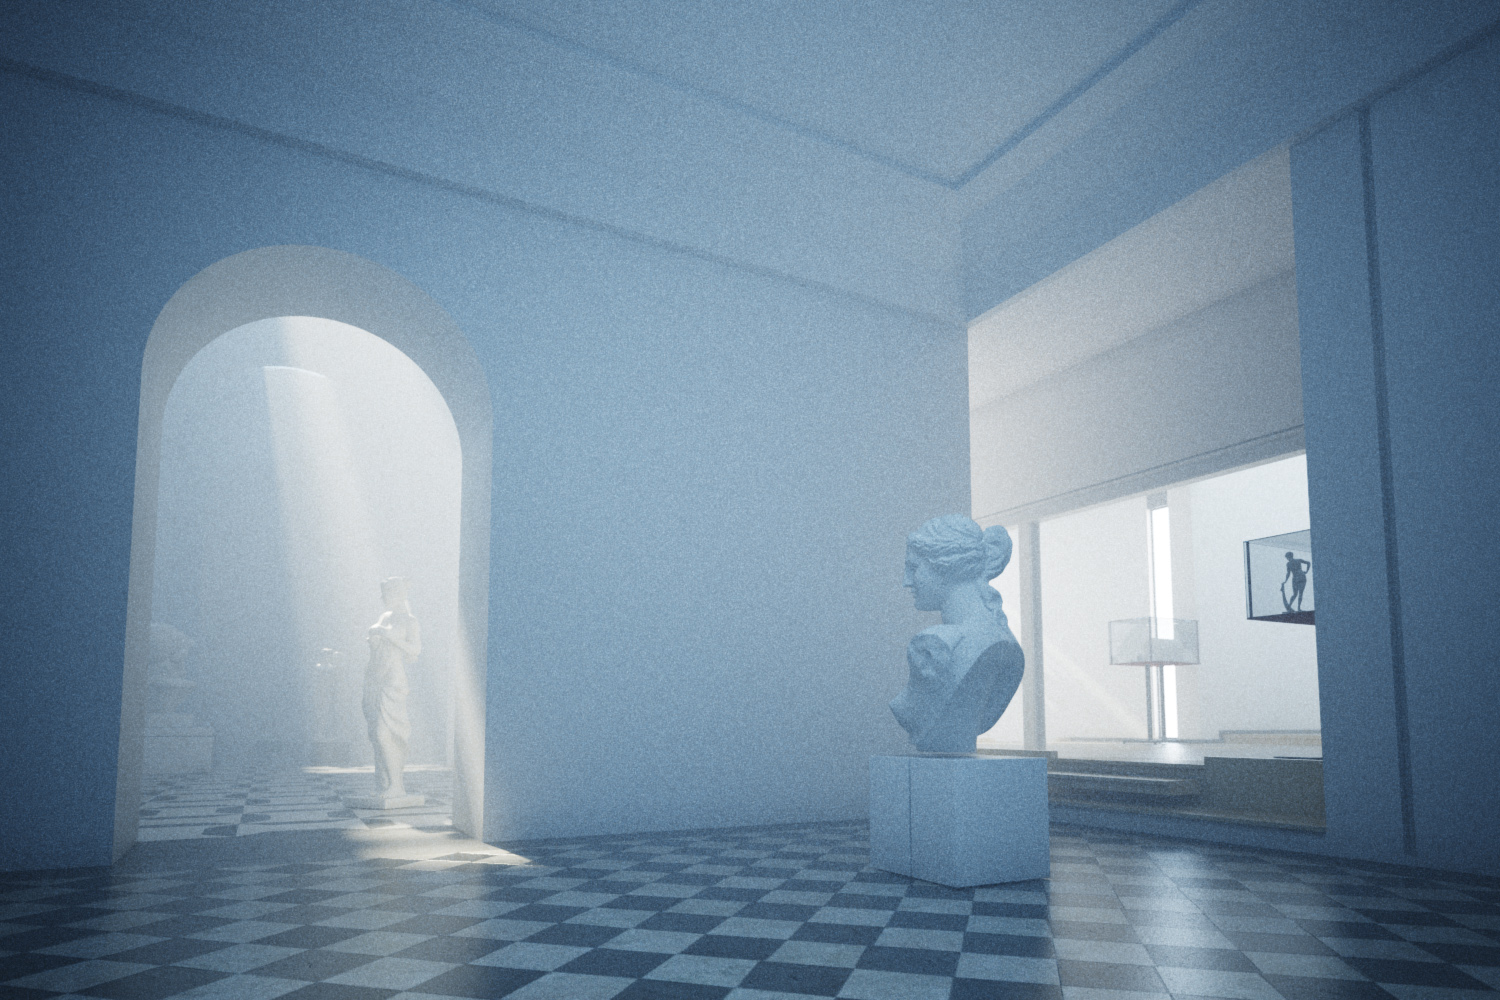
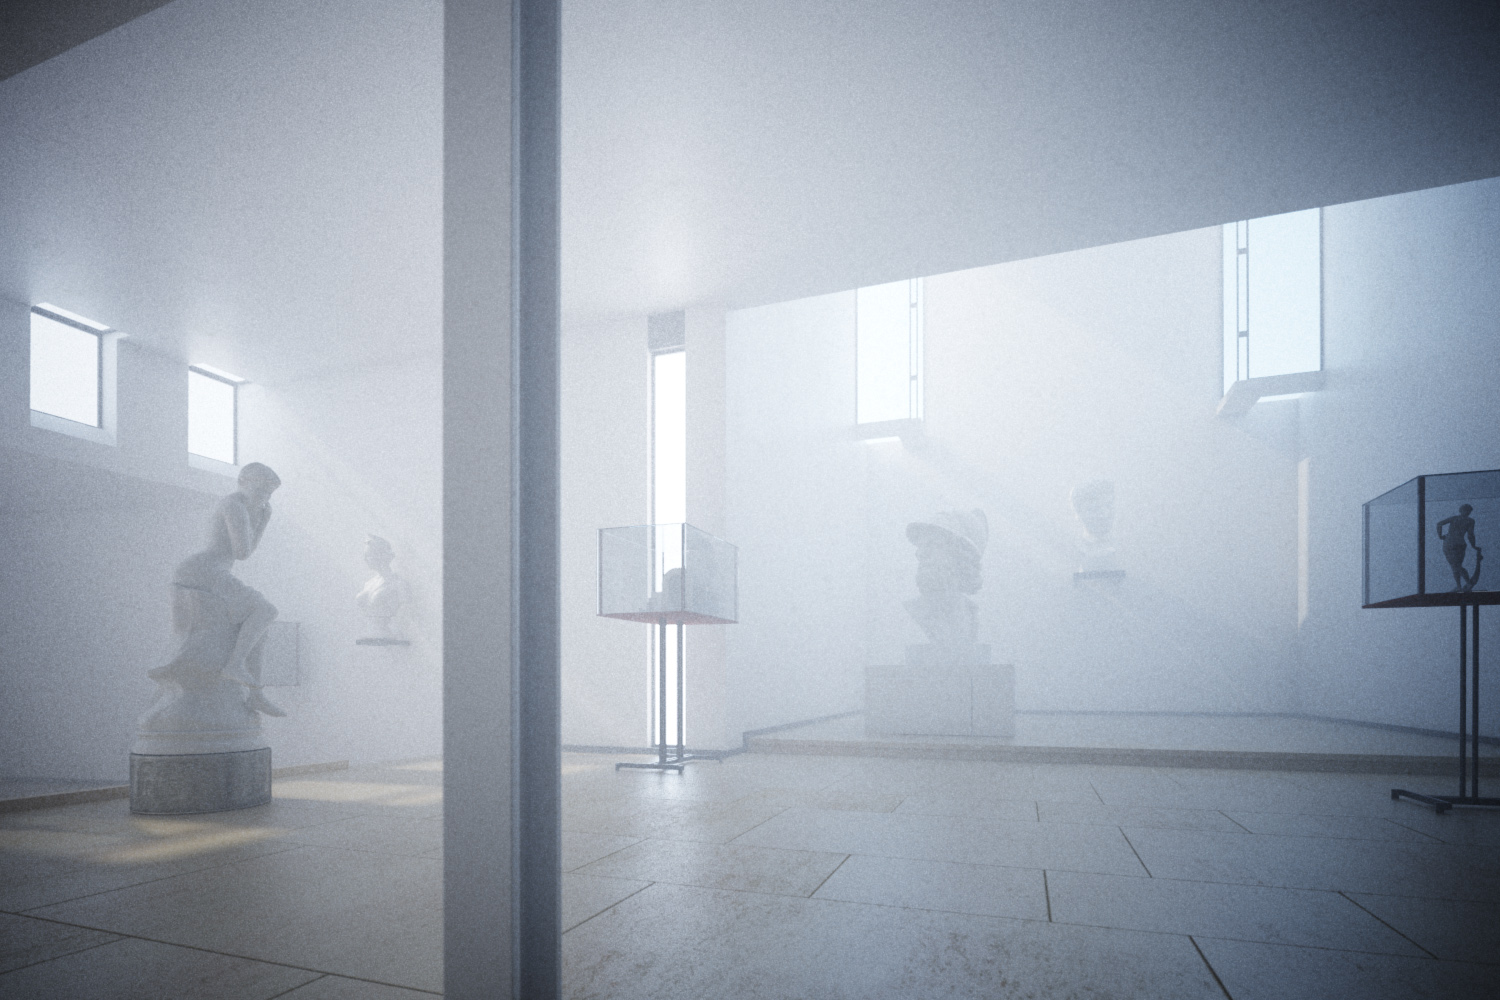
A scene I keep coming backto, this time to test out the new atmospherics capabilities of the recently released vray 1.5 SP3 for 3dstudio max.

1200camA
1200camC
1500camD
1500camE

These renders are straight out of 3dsmax, I used vray for the depth of field (lack of), vignetting, distortion & fog.

The steps for setting up the environment fog in 3dsmax couldn't be simpler: I just added a VrayEnvironmentFog effect in the environment & atmospherics window (8), set the density to 20,000 (20 metres), enabled scatter GI (100 bounces) and set the fog height to cover the whole building. Plus, from the vray manual: "When using VRayEnvironmentFog, it is recommended to turn on the Optimized atmospherics evaluation option in the System rollout of the V-Ray settings."

It is also possible to shape the fog by assigning procedural maps to change the density. Here is a nice tutorial by Francesco Legrenzi on using VrayEnvironmentFog to make clouds: Legrezni Studio Forum

The sketchup model for the Scarpa scene is available to download on pushpullbar. Or you can grab it here.